Gooey, rich, decadent, and super chocolatey. These are all words that I’d use to describe my perfect brownie. But since I turned vegan, I’ve struggled to get the perfect result that I’ve been looking for. Until I tried this recipe right here, that is! These brownies are absolutely just as good, if not better, than any of the brownies I used to bake before going vegan, and it’s all thanks to one glorious, magic ingredient.
Jump to Recipe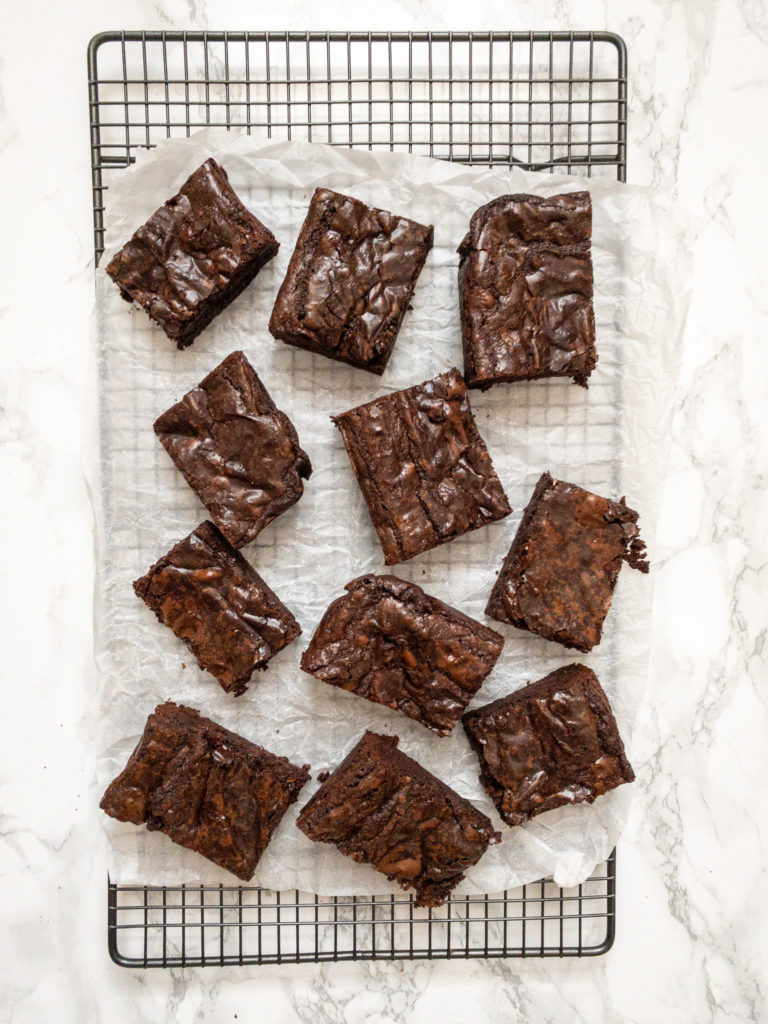
Before I switched to being a vegan, I was well known around my circle of friends as a rather good baker. Baking is one of my big passions in life, and I did not want to make any compromises on my baked goods. I quickly set out on veganising my favourite recipes, and if I’m being honest, it was harder that I had thought. But finally, after trailing around 10 different recipe variations, I bring you a recipe for a shockingly good brownie. This is for sure just as incredible as my previous brownies, and my non vegan friends who tested these out for me all certainly agree!
What’s inside?
Aquafaba
Or as I like to call it, chickpea juice. Aquafaba is genuinely magic. This is the liquid that comes in a can of chickpeas. So often it’s just tipped straight down the sink, but it’s genuinely an absolutely miracle ingredient that makes for an excellent egg replacer. It’s a starchy liquid that can be whipped into peaks and baked with, just like egg whites. This recipe calls for 150ml of it – this is exactly the quantity that I get out of my tins of chickpeas, which is absolutely awesome! It’s whisked in a stand mixer until it forms soft peaks, and then has sugar added and whisked until it forms stiff peaks. Just like making a meringue!
Sugar
I’m using a mix of caster sugar and light brown sugar here, as I find this gives the best result. I’ve tried with just caster sugar, and found that the top of the brownie was just a bit too crispy. I feel that the even mix gives the best result, and I love the slightly richer taste that the light brown sugar adds.
‘Butter’
Any plant based block style butter will work here, but my personal preference is flora plant. This helps give richness to the brownie, and I much prefer the taste of using plant based butter over the taste of recipes that call for oil to be used. Make sure that you use a block butter though! Spreads tend to have a higher water content which may not work as well for baking.
Chocolate
Dark chocolate here – I know that there are some good brands of dairy free ‘milk’ chocolate, but you really do need the richness of dark chocolate in this recipe. 180g of it is melted together with the butter and mixed into the brownie mix, and 100g of it is folded through the batter right before baking to give some lovely chocolatey chunks. The chocolate I use is 54.5%, which is my personal favourite.
Plain flour
Just plain, all purpose flour. I don’t recommend substituting this with any other flour, as you do not want any raising agent in there!
Cocoa powder
I like to use cocoa powder as well as melted chocolate to give this some extra chocolate flavour. If you’re from the US, use dutch process. If you’re British/European, just use the regular stuff – the best quality you can find and afford.
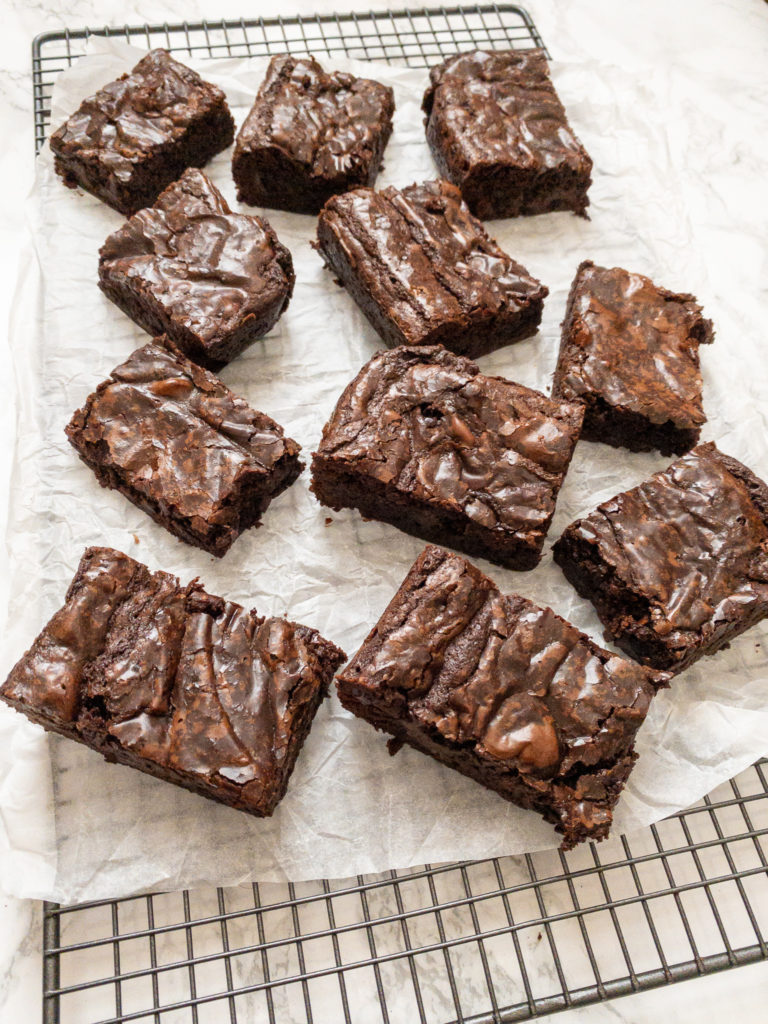
When I pulled these gorgeous brownies out of the oven, I was so overjoyed. They looked and smelt just like my favourite non vegan recipes from before I switched over. The worst part is waiting for them to cool completely before removing them from the pan. Don’t rush this – they’re still quite gooey when they’re warm, so allowing them to cool completely will make sure that they’ve got a good structure, and give you the best, cleanest slices. Store your sliced brownie potions in an airtight container, and consume within 3-4 days (if they last that long!). I really recommend giving these a go if you’ve a major vegan chocaholic! They are incredible, and the whisked aquafaba gives absolutely stunning results, and the most incredibly moist and decadent brownies. If you give this a go, I’d love to see it! Please do tag me on your Instagram posts or stories if you give try it out!
A moist, decadent and luxurious brownie, made vegan using the magical ingredient aquafaba!
- 150 ml Aquafaba
- 200 g Caster sugar
- 100 g Light Brown Sugar
- 1/2 teaspoon Salt
- 1 tsp vanilla extract
- 100 g Dairy Free Butter
- 180 g Dark Chocolate
- 180 g Plain Flour
- 40 g Cocoa Powder
- 100 g Dark chocolate chips, or a finely chopped bar.
-
Heat oven to 180C/160C fan, or gas mark 4. Grease and line a 20cm square baking tin with greaseproof paper.
-
Melt together the chocolate and the dairy free butter. You can do this either in a microwave or Baine Marie. If using the microwave, heat it for 2 x 30 second intervals, stiring in between, following up with shorter 10 second intervals until it's all melted and evenly mixed. If using a Baine Marie, add the chocolate and butter in a bowl over a pan of simmering water, ensuring the bowl does not touch the water, and stir until evenly melted. Set aside and allow to cool slightly.
-
In the bowl of a standing mixer, Whisk the Aquafaba for 1-2 minutes, until it is pale, frothy, and holds soft peaks. Place in the sugar, and whisk using a medium speed for 2-3 minutes, until it is completely incorporated and leaves stiff peaks.
-
Pour in the melted chocolate and butter mix, and the vanilla extract and fold together until fully mixed, taking care not to beat out too much air.
-
Sift in the flour, cocoa powder and salt, and gently fold together until fully incorporated and lump free.
-
Add in the 100g of chopped chocolate or chocolate buttons, and fold in to mix evenly.
-
Pour into the prepared pan, and bake in the middle of the oven for 35 minutes. Gently give the tin a shake whilst it's still in the oven – if it's a bit wobbly in the middle, it's not quite done yet and needs an extra 4-5 minutes. When fully cooked, take out of the oven and allow to cool completely before removing from the pan.
-
Once completely cool, remove from the pan and cut into the desired portion sizes. I like to cut them into 12, but do whatever you prefer. It takes a few hours to cool completely, so do be patient – taking them out of the pan too early might ruin the end result! For even better results, place the cooled pan of brownies in the fridge for 30 – 60 mins to cool before slicing.
If you want to cut the brownies into absolutely perfect squares/rectangles, chill the cooled pan of brownies in the fridge for an hour, or the freezer for 30 mins, and clean the knife between each cut.
Serve as they are with a cuppa, or with your favourite plant based ice cream or whipped cream alternative for a decadent dessert. Enjoy!

Leave a Reply